Door Won’t Close? Diagnose the Safety Sensors on Your Garage Door
Your door opens fine but refuses to come down. Spend ten minutes on the two little sensors near the floor before you call anyone.
It was a Tuesday and I was already late. I tapped the remote, the door started down, stopped halfway, and rolled right back up. I tapped again. Same thing.
Here is what I wish someone had told me that morning. A door that opens fine but will not close is almost never a broken opener. It is the safety sensors. Two matchbook-sized boxes near the floor shoot an invisible beam across the doorway, and when that beam breaks, or the opener thinks it broke, the door reverses.
I have watched homeowners replace entire openers over a cobweb. This guide will make sure that is not you.
What Are These Little Sensors, Anyway?
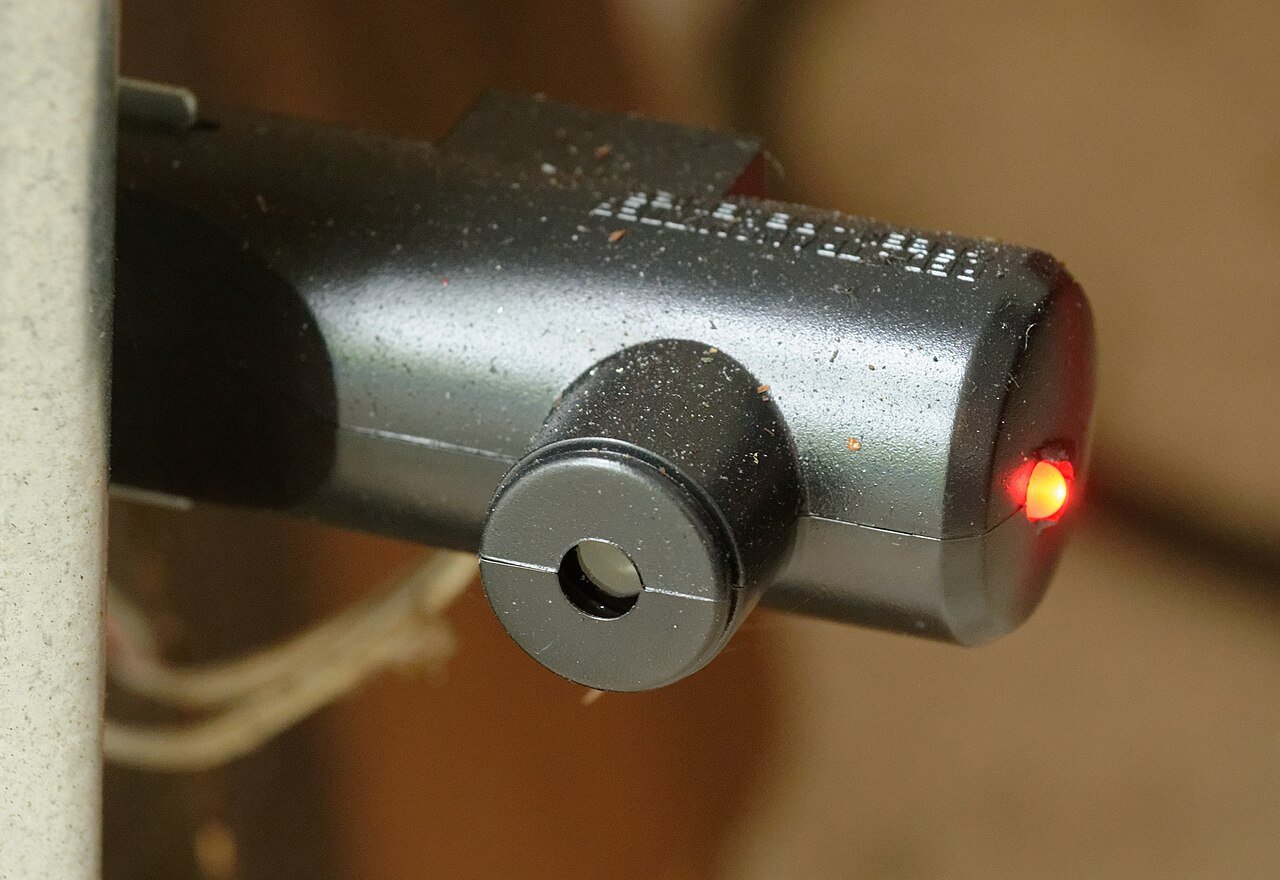
They are called safety reversing sensors, or photo-eyes, and every opener sold in the US since 1993 must carry them under UL 325. One eye sends an invisible infrared beam and the other receives it. While the receiver sees the beam, the door may close. Break the beam and the door reverses.
The beam crosses no higher than six inches off the floor, right at toddler height.
How Do I Know the Sensors Are the Problem?
The symptoms are specific. The door starts down, then reverses on its own. Or it will not move down at all while opening works fine, and the motor-unit light flashes, often ten times.
Here is the dead giveaway. Press and hold the wall button and the door closes. Tap the remote and it will not. The held button bypasses the sensors under constant pressure. If the door obeys it but not the remote, the opener is fine and the sensors are lying.
If the door will not open either, your problem is elsewhere. Sensors only police the downward trip.
What Do the Blinking Lights Actually Mean?
Those tiny LEDs are the opener talking to you. Steady amber means the sender has power. Steady green means the receiver sees the beam. Blinking green means a broken beam or misalignment. Both dark means a wiring fault.
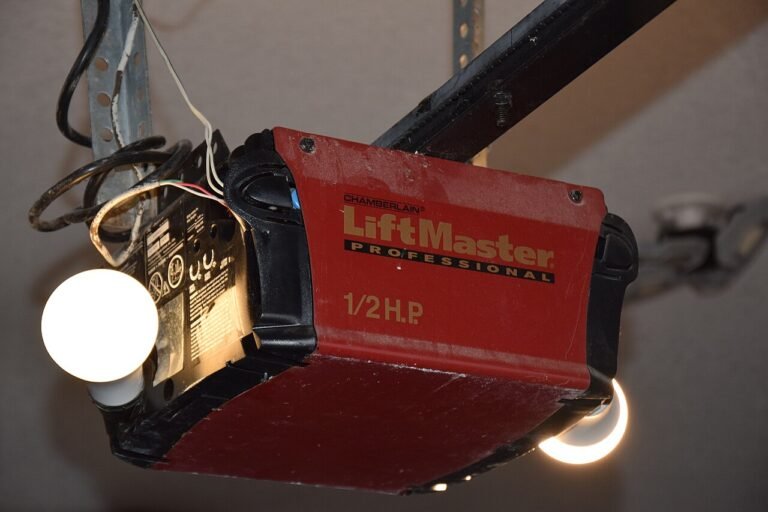
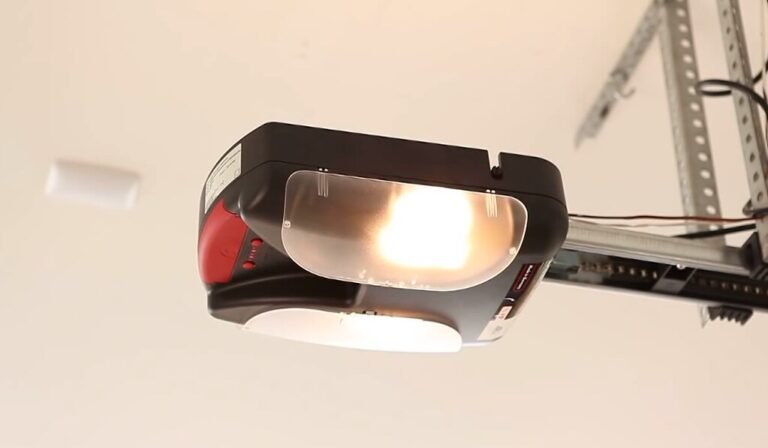
The motor unit has its own codes. These are typical for LiftMaster and Chamberlain, but codes change, so confirm against your manual and jot down your pattern first.
| What you see | What it typically means |
|---|---|
| Opener light flashes 10 times | Sensor obstruction or misalignment |
| Up arrow 4x, down arrow 6x | Misaligned or obstructed sensors (Security+ 2.0) |
| LCD error 4-6 | Sensor momentarily obstructed |
| Learn button flashes 4x per 10 sec | Sensor wiring or alignment fault (older units) |
Can I Really Diagnose This in 10 Minutes?
Yes, if you work in order. Most people never get past step four.
Clear the beam path
Sight across the doorway at sensor height. Cobwebs first, then leaves, trash cans, and bikes on the track.
Read the LEDs
Steady and steady means the sensors are probably innocent. Anything else tells you where to look.
Clean the lenses
Wipe each lens with a soft dry cloth. Dust and grime weaken the beam. No solvents.
Do the wiggle test
Nudge the receiver while watching its green LED. Flickering means slight misalignment, a five-second fix.
Check the clock
Trouble only in late afternoon points at sunlight. Note the time.
Follow the wire
Trace the wire from each sensor to the motor unit. Look for staple punctures, chew marks, and pinches.
Inspect the brackets
A wobbling sensor in a bent bracket will never hold alignment. Fix the bracket before chasing aim.
Cycle and watch
Run the door and watch the green LED. Flicker at one point means something breaks the beam mid-travel.
How Do I Realign a Sensor That Got Knocked Sideways?
Bump a sensor and it points at the driveway instead of its partner. Loosen the wing nut on the green eye and pivot it toward the sender, watching the LED. The moment it glows steady, snug the nut. Overtightening cracks the housing.
If neither eye goes steady, loosen both and align them together, then test with the remote. LiftMaster’s own support page shows the same steps with diagrams.
Can Sunlight Really Blind a Sensor?
This one fools everyone, and it has a season. Sunlight is packed with infrared light, the same spectrum your sensors use. Low evening sun flooding the receiver drowns out the sender’s beam, so the opener reads a broken beam and refuses to close. The door still opens fine. East and west facing garages suffer most in fall and winter, on a maddening schedule. Same time every evening for weeks, then it vanishes.
Test it free. Shade the receiver with your hand and hit the remote. If the door closes, you caught the sun. A shade tube works, or swap the sensors to opposite sides. Chamberlain’s sunlight guide covers the permanent options.
Why Does the Door Close When I Hold the Wall Button?
The opener is letting you override the sensors on purpose. Holding the wall control closes the door under constant pressure, bypassing the beam, so a sensor fault never traps your car overnight. Keep holding until the door fully closes.
One catch. Chamberlain Group removed this bypass from openers and logic boards made after February 2022, so on newer units holding the button may do nothing. LiftMaster documents the behavior here.
What If the Wire Got Nicked by a Staple?
This fault makes people replace healthy sensors. The sensor wire is thin low-voltage cable, often fastened with staples. One staple through the insulation causes intermittent shorts.
Trace the wire from each sensor to the motor unit, flexing gently and watching the LEDs. Flicker at one spot marks the nick. Also check for rodent chew and pinches at drilled holes.
Skip electrical tape. It fails on a wire that flexes every cycle. Cut out the damage and splice with proper connectors, or rerun fresh bell wire. If the bad section hides inside a finished wall, call for help.
How Do I Straighten a Bent Sensor Bracket?
Brackets are thin metal clipped to the track, and one bump bends them so alignment can never hold. Slide the sensor out, bend the bracket back with pliers, and replace it if cracked. Remount, realign, and confirm both LEDs.
How Do I Know When a Sensor Is Truly Dead?
Prove it before spending money. Disconnect both sensors, wire them directly at the motor unit, and point them at each other. LEDs steady means the sensors live and your wiring is the fault. LEDs dark means they are dead.
A replacement pair typically runs $25 to $60 retail. Match the brand family. LiftMaster, Chamberlain, and Craftsman share generations, but a Genie eye will not talk to a LiftMaster opener. If everything checks out and the door still misbehaves, our garage door repair team in Rochester, NY can sort it in one visit.
Can I Just Bypass the Sensors and Be Done With It?
No, and I will be blunt. Sensors have been federally required since 1993 because closing doors injure children and pets. The beam sits inches off the floor exactly where a crawling toddler would be.
Every bypass trick online defeats a life-safety device and puts you outside the UL 325 standard. And the sensors are not the villain. Nine times out of ten the fix is a cobweb, a nudge of alignment, or a piece of cardboard.
When Should I Stop Fiddling and Call a Pro?
Get help when damaged wire runs inside a finished wall, a bracket has broken off, the bench test condemns the sensors and you dislike wiring, or both LEDs glow steady yet the door still will not close. That last one means deeper opener trouble.
Sensor visits are usually quick. Every visit follows the same five steps: inspection, a price discussed first, the fix, and a full safety test. Read why homeowners choose us before you book.
My Tuesday-morning fix was a cobweb across the receiver lens. Thirty seconds with a rag and the door closed like nothing had happened. Work the sequence. Beam path, LEDs, lenses, sun, wire. For anything beyond sensors, see everything we fix on the homepage or call (866) 727-0060.
Need this fixed? See our garage door opener repair in Rochester, NY and call to confirm availability.
Sensor Troubleshooting FAQs
Because the opener thinks something is blocking the doorway. When the safety beam breaks mid-close, or the opener believes it broke, it reverses the door as designed. Check for obstructions at sensor height first, including cobwebs. Then look at the sensor LEDs. A blinking green receiver light confirms the sensors are the cause. Clean the lenses, realign the eyes, and test again. If the reversal happens at the exact same spot every single time, something is breaking the beam mid-travel.
Ten flashes is LiftMaster and Chamberlain shorthand for a safety sensor problem. The opener is telling you the beam is broken or the sensors are misaligned, so it will not close the door. Start with the sensor LEDs. Both should glow steady. If the green receiver LED blinks or is dark, work through alignment, cleaning, and obstruction checks. Write down the pattern before you start troubleshooting. You will see the same ten flashes on the motor unit and some remote work lights.
Yes. Sunlight contains infrared light that floods the receiving sensor, drowning out the sender’s beam. The opener reads the missing beam as an obstruction. It usually strikes east or west facing garages in late afternoon during fall and winter. Shade the receiver with your hand and try the remote. If the door closes, sunlight is your culprit. A cardboard shade tube, swapping the sensor sides, or clip-on sun shields all fix it. The trouble comes and goes with the seasons.
Holding the wall button engages the opener’s constant-pressure override, which bypasses the safety sensors. It is a deliberate feature so a sensor fault never traps your car. You must keep holding until the door fully closes. Release early and it reverses. Note that Chamberlain Group removed this override from openers and logic boards made after February 2022, so on newer units holding the button may do nothing. The remote never gets this override, which is why the remote fails while the wall button works.
Not necessarily. First check the obvious. A tripped GFCI outlet kills power to the whole opener. A dark LED usually means no power is reaching that sensor, and wiring is the prime suspect. Check that the opener has power, then trace the sensor wire for staple nicks, chew marks, and loose terminals at the motor unit. Try the bench test. Wire both sensors directly at the opener and point them at each other. If the LEDs light up, your wiring is at fault. Only if they stay dark is the sensor truly dead.
Yes, it is one of the more DIY-friendly opener jobs because the wire is low voltage. Disconnect power, unmount the old sensors, mount the new pair no higher than six inches off the floor, and connect the white wire to the white terminal and the white-with-black-stripe wire to the grey or black terminal. Reconnect power, align until both LEDs glow steady, and test the safety reversal with a 2×4 laid flat under the door. Buy sensors matched to your opener brand and generation.
A replacement sensor pair typically costs between $25 and $60 at a hardware store or online, depending on brand and generation. If you hire the job out, most homeowners report the total landing well under the cost of bigger repairs like springs or openers, since it is usually a quick visit. Always get the price before work starts. And try the free fixes first. Cleaning, realignment, and clearing the beam path cost nothing and solve most sensor problems. Mention the LED behavior when you call.
No. Safety reversing sensors have been required on all new openers since 1993 under the UL 325 standard because closing doors can seriously injure children and pets. Disconnecting or bypassing them defeats a life-safety device and puts you outside the standard your opener was certified under. Every common bypass trick also leaves the opener unable to detect obstructions. Fix the actual fault instead. In most cases it is a cobweb, a misalignment, or sunlight, all free to resolve. No bypass is worth the risk.
Still Stuck? Get Help From a Technician
One call, a price agreed first, door closing tonight.
Call (866) 727-0060