Guides
Can You Replace a Garage Door Spring Yourself? The Honest Answer
It is the most-asked garage door question on the internet. Here is what a working technician actually thinks, with no sales pitch attached.
It was the second week of February, the coldest stretch of the year, when a homeowner called us about a spring job gone sideways. He had watched three YouTube videos, ordered a pair of springs online, and borrowed what he thought were the right tools. Halfway through unwinding the old torsion spring, his makeshift winding bar slipped out of the cone and whipped around into his forearm. He was lucky. He needed stitches, not surgery. His wallet was less lucky, because we still had to come out and finish the job properly.
That story has a dozen versions and I have heard them all. Torsion springs injure thousands of DIYers every year, and almost every one of them started with the same thought you are having right now. This looks doable. So here is the honest answer from someone who handles these springs every week. Yes, it is physically possible. No, for most people it is not worth it. Let me show you exactly why.
A garage door torsion spring stores enough energy to break bones. Replacing one demands exact measurements, proper winding bars, and real respect for the physics involved. Extension springs are more forgiving but still dangerous. If you want the safe answer, call a professional. If you want the full picture before you decide, keep reading.
Why Does Everyone Say Springs Are So Dangerous?
A standard 16 by 7 foot steel door weighs between 150 and 250 pounds, and the spring system carries nearly all of that weight so your opener and your arms do not have to. A wound torsion spring holds hundreds of foot-pounds of torque, and that energy sits there silently, waiting for a mistake.
When a winding bar slips out of the winding cone, the spring unwinds in a fraction of a second and the bar becomes a projectile. Emergency rooms see broken hands, fractured forearms, and head injuries from this exact scenario every year. DASMA, the industry trade association, publishes garage door safety guidance that puts spring work firmly in professional territory. This is not lawyers being cautious. It is physics being unforgiving.
What Is Actually Under All That Tension?
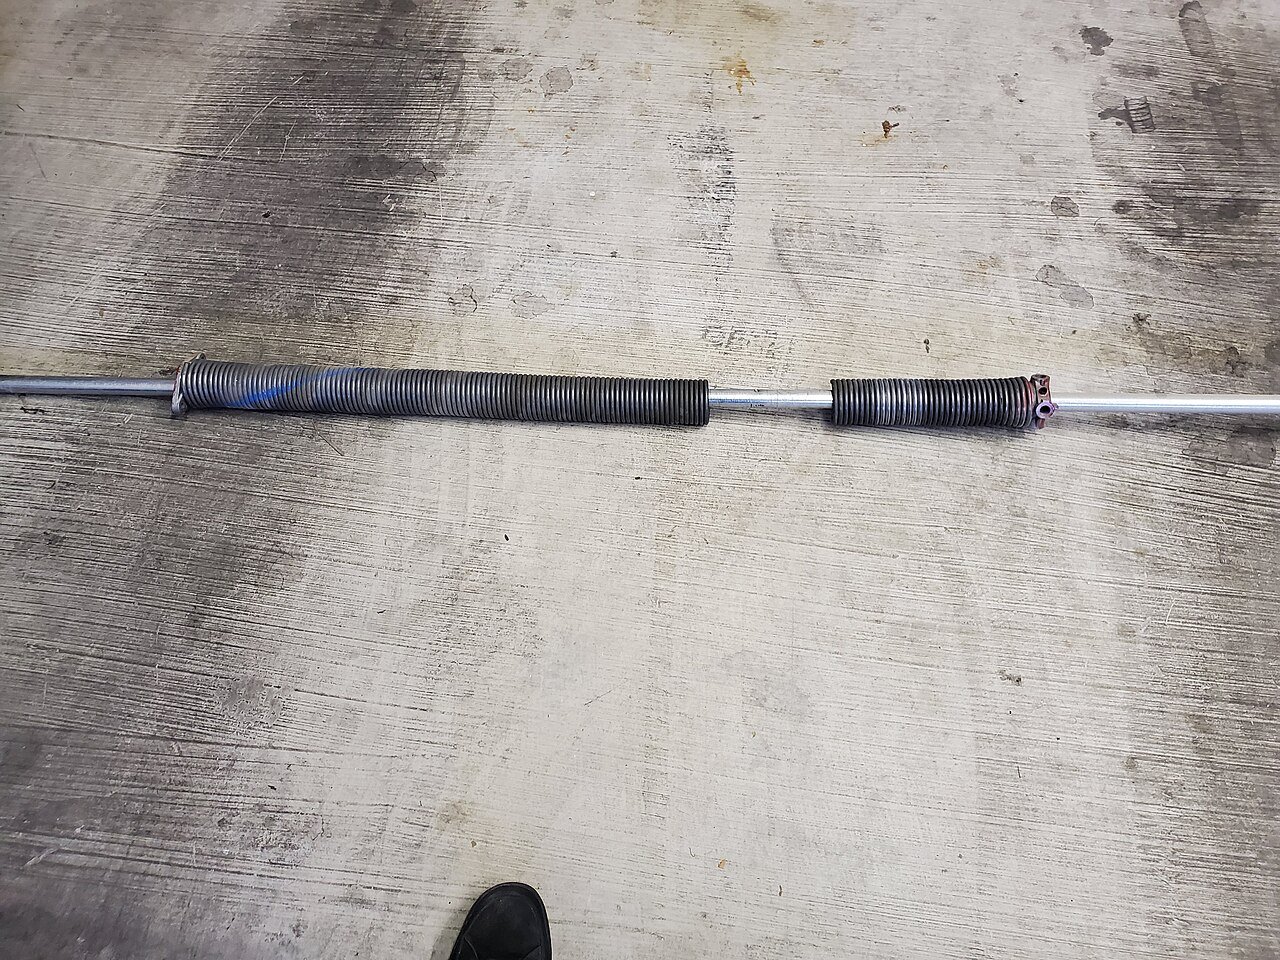
Picture the hardware above your closed door. A steel tube runs across the top, mounted to a center bracket, with one or two coil springs sitting on it. Each spring has a stationary cone bolted to the bracket and a winding cone with holes for the winding bars. Lift cables run from the bottom corners of the door up to drums on the tube ends, and set screws lock the cones in place.
When the door closes, the springs wind tight and store energy. When it opens, they unwind and lift most of the door’s weight. Every part in that chain is under load, and loosening the wrong set screw releases everything at once. There is no gentle failure mode here. It is either controlled or violent.
Can I Just Watch a YouTube Video and Do It?
Here is my contrarian take. Those videos are not lying, but they are misleading by omission. The person on camera has changed hundreds of springs. Their hands know exactly how a quarter turn feels. They make it look like changing a tire because for them, it nearly is.
What the video cannot teach you is the feel of proper tension, how to read a spring’s wind direction at a glance, or what to do when your door sits half an inch out of balance and starts chewing through cables. The camera friendly version is ten minutes long. The careful version takes a pro up to two hours, and the pro already knows what they are doing.
What Tools Would I Actually Need?
At minimum you need two proper steel winding bars sized for your spring cones. Not screwdrivers, not rebar, not socket extensions. You need locking pliers or clamps to secure the door and the torsion tube. You need a 9/16 inch wrench for the set screws, a tape measure, a sturdy ladder, and safety glasses at the very least.
A decent pair of winding bars costs 20 to 40 dollars. Sounds cheap until you realize they are single purpose tools you may use once. Here is my rule of thumb. If you do not already own winding bars, that is the universe telling you something.
What Is the Difference Between Torsion and Extension Springs?
Torsion springs mount horizontally above the door and work by twisting. Most modern doors use them. They last longer, usually around 10,000 cycles, and they give smoother, quieter operation. They are also the dangerous ones.
Extension springs run along both sides of the horizontal tracks and work by stretching. They are common on older and lighter doors, and they store less energy in a less concentrated way, which makes them more forgiving. But they can still snap violently, which is why every extension spring should have a safety cable threaded through it to catch it if it breaks. Clopay’s maintenance guides are a solid place to start if you want to identify which system your door uses.
How Would I Even Know Which Spring to Buy?
This is where most DIY attempts quietly fail. A torsion spring is defined by four measurements. Inside diameter, wire gauge, overall length, and wind direction. Get any one wrong and the door will not balance. An unbalanced door strains the opener, wears out cables early, and can slam shut or fly open.
An unbalanced door wears cables early — see our garage door cable repair in Rochester, NY.
Springs also carry an IPPT rating, inch pounds per turn, which must match your door’s weight. Suppliers sell by these specs, and a tape measure plus a caliper gets you there if you are careful. But you are measuring a spring that is either broken or still under tension, and measuring wrong is easy. Ordering wrong costs you a week of waiting and return shipping. A pro weighs the door and matches the spring on the spot.
What Are the Mistakes That Actually Hurt People?
I will be blunt about the greatest hits. Number one is using a screwdriver or a piece of rebar instead of proper winding bars. It slips, and physics does the rest. Number two is standing directly in the path of the winding bar instead of off to the side. Number three is skipping the clamps, so the door shifts mid job and the whole geometry changes.
Number four is unwinding in the wrong direction, which feels productive right up until it is not. Number five is reusing old set screws that no longer bite, so the cone slips days later and the spring lets go on its own. Every one of these mistakes comes from the same root cause. Confidence without experience.
What Does a Professional Do Differently?
A pro does not just swap a spring. The visit starts with weighing the door and checking the full hardware set, then comes the spring itself, matched by IPPT to the door’s actual weight, not just the old spring’s faded paint marks.
Both springs get replaced together, because a matched pair shares the same cycle count and the surviving spring is living on borrowed time. The new springs are tensioned in precise quarter turns, the door is balanced until it holds steady at waist height, and the safety reverse is tested before anyone leaves. You can see exactly how a professional spring visit works, step by step. And if you are weighing the DIY route against calling someone, our why homeowners trust a pro with this job page lays out the case plainly.
How Much Money Would I Really Save?
Let us do honest math. A pair of torsion springs online typically runs 60 to 150 dollars depending on size. Winding bars add 20 to 40. So your DIY cost lands around 100 to 190 dollars, plus an afternoon and a meaningful amount of risk.
Most homeowners report paying roughly 250 to 500 dollars for a professional double spring replacement, parts and labor included. That puts the real savings around 100 to 200 dollars. Now ask yourself what your emergency room copay is. For most people, this is the worst trade in home DIY. High risk, modest savings, and no warranty when the door will not balance afterward.
So What Is the Honest Verdict?
Here it is, plain and simple. Torsion springs: call a professional. The energy involved and the cost of a mistake both point the same way. Extension springs with proper safety cables are safer, but this job still belongs to a pro. See our garage door spring repair in Rochester, NY.
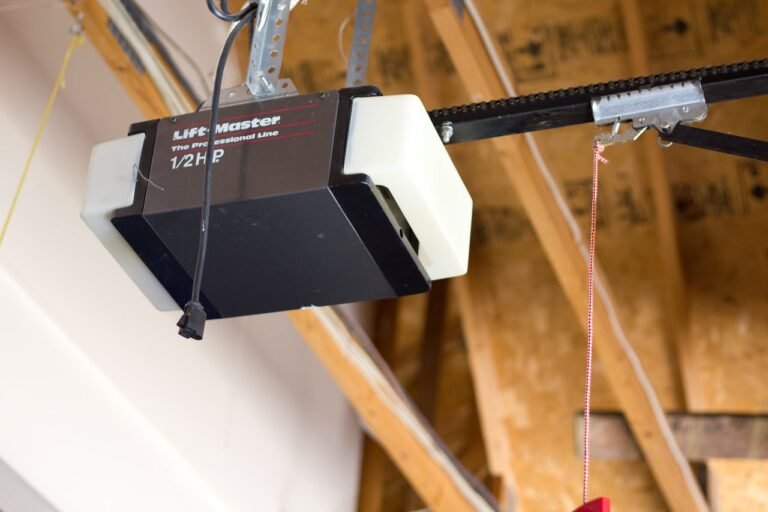
What you absolutely can do yourself: lubricate rollers and hinges with silicone spray, align the safety sensors, program remotes and keypads, replace the bottom weather seal, and tighten loose hardware. Those jobs are safe, genuinely useful, and they prevent the breakdowns that cost real money. For everything under tension, our garage door technicians in Rochester, NY handle it every day. And if your opener is acting up after a spring failure, LiftMaster’s support docs are genuinely helpful for force setting checks.
Spring Questions, Answered
A torsion spring usually announces itself with a loud bang, like a firecracker in the garage. Then look at the spring above the door. A broken one shows a visible gap of an inch or two in the coil. The surest test is the manual lift. Pull the emergency release cord and try lifting by hand. If the door feels extremely heavy or will not stay halfway open, the spring is done.
Manually, maybe, with help. A standard door without spring assistance can weigh over 150 pounds. Two adults can usually lift it, but letting it crash down can bend panels and wreck the opener. Never run the opener on a broken spring. It will strip the gears or burn out the motor. If the car is trapped inside, lift carefully with a helper, prop the door fully open, then leave it alone.
Most visits run one to two hours from arrival to final test. The spring swap itself is the quick part. What takes time is doing it right. Measuring and matching the spring, replacing both sides, checking cables and bearings, tensioning in quarter turns, and testing the safety reverse. A tech who finishes in twenty minutes skipped steps.
Yes, and this is not an upsell. A pair of springs is installed together and shares the same cycle count, usually around 10,000 cycles. When one breaks from metal fatigue, the other is right behind it. Replacing only the broken one leaves mismatched tension and a second service call within months. Doing both at once costs a little more today and saves a full second visit.
You need four specs. Inside diameter, wire gauge, length, and wind direction, left or right. Many springs also carry paint color codes for wire size, though paint fades. Measure carefully with a tape and calipers, and photograph everything before you order. One wrong spec means an unbalanced door that strains the opener. This measurement step is the single biggest reason DIY spring orders go wrong.
Safer than torsion, yes. Safe, no. Extension springs store less concentrated energy, and a safety cable through the spring catches it if it snaps. But you are still working with a tensioned component over your head, on a ladder, with a heavy door nearby. If your extension springs lack safety cables, adding those is a smart upgrade. A first timer should still call a pro.
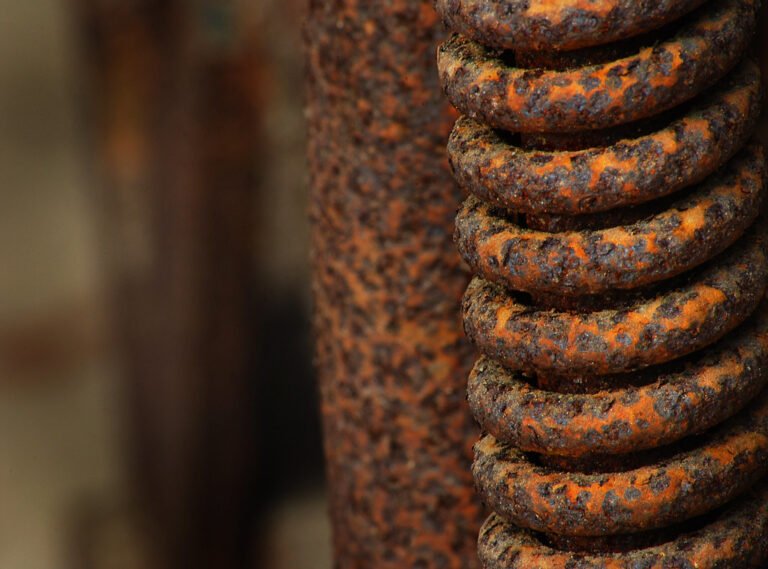
Most torsion springs are rated for about 10,000 cycles. One cycle is one open and one close. For a door used twice a day, that is roughly seven to ten years. Heavy use, cold weather, and lack of lubrication shorten that life. Warning signs include a door that feels heavier than it used to, rust on the coils, and an opener that strains on the way up.
Most homeowners report paying roughly 250 to 500 dollars for a standard double torsion spring replacement, parts and labor included. Single springs and extension systems trend lower. Heavy wood doors and high lift track trend higher. Be wary of quotes far below that range. They often mean cheap unrated springs or skipped steps like balancing and safety testing.
The Bottom Line
The honest answer has not changed since the first paragraph. Springs are the one garage door job where the DIY math does not work. The savings are modest, the tools are specialized, and the failure mode is violent. Everything else on your door is fair game for a handy homeowner. This one belongs to a pro.
If your spring has already snapped, do not force the door and do not run the opener. Call (866) 727-0060 for garage door repair, pricing before work begins, and a full safety test before we leave.
Spring Snapped? Do Not Risk It
One call gets you matched springs, proper tensioning, and a door that is balanced and tested. Price before any work begins.
Call (866) 727-0060